
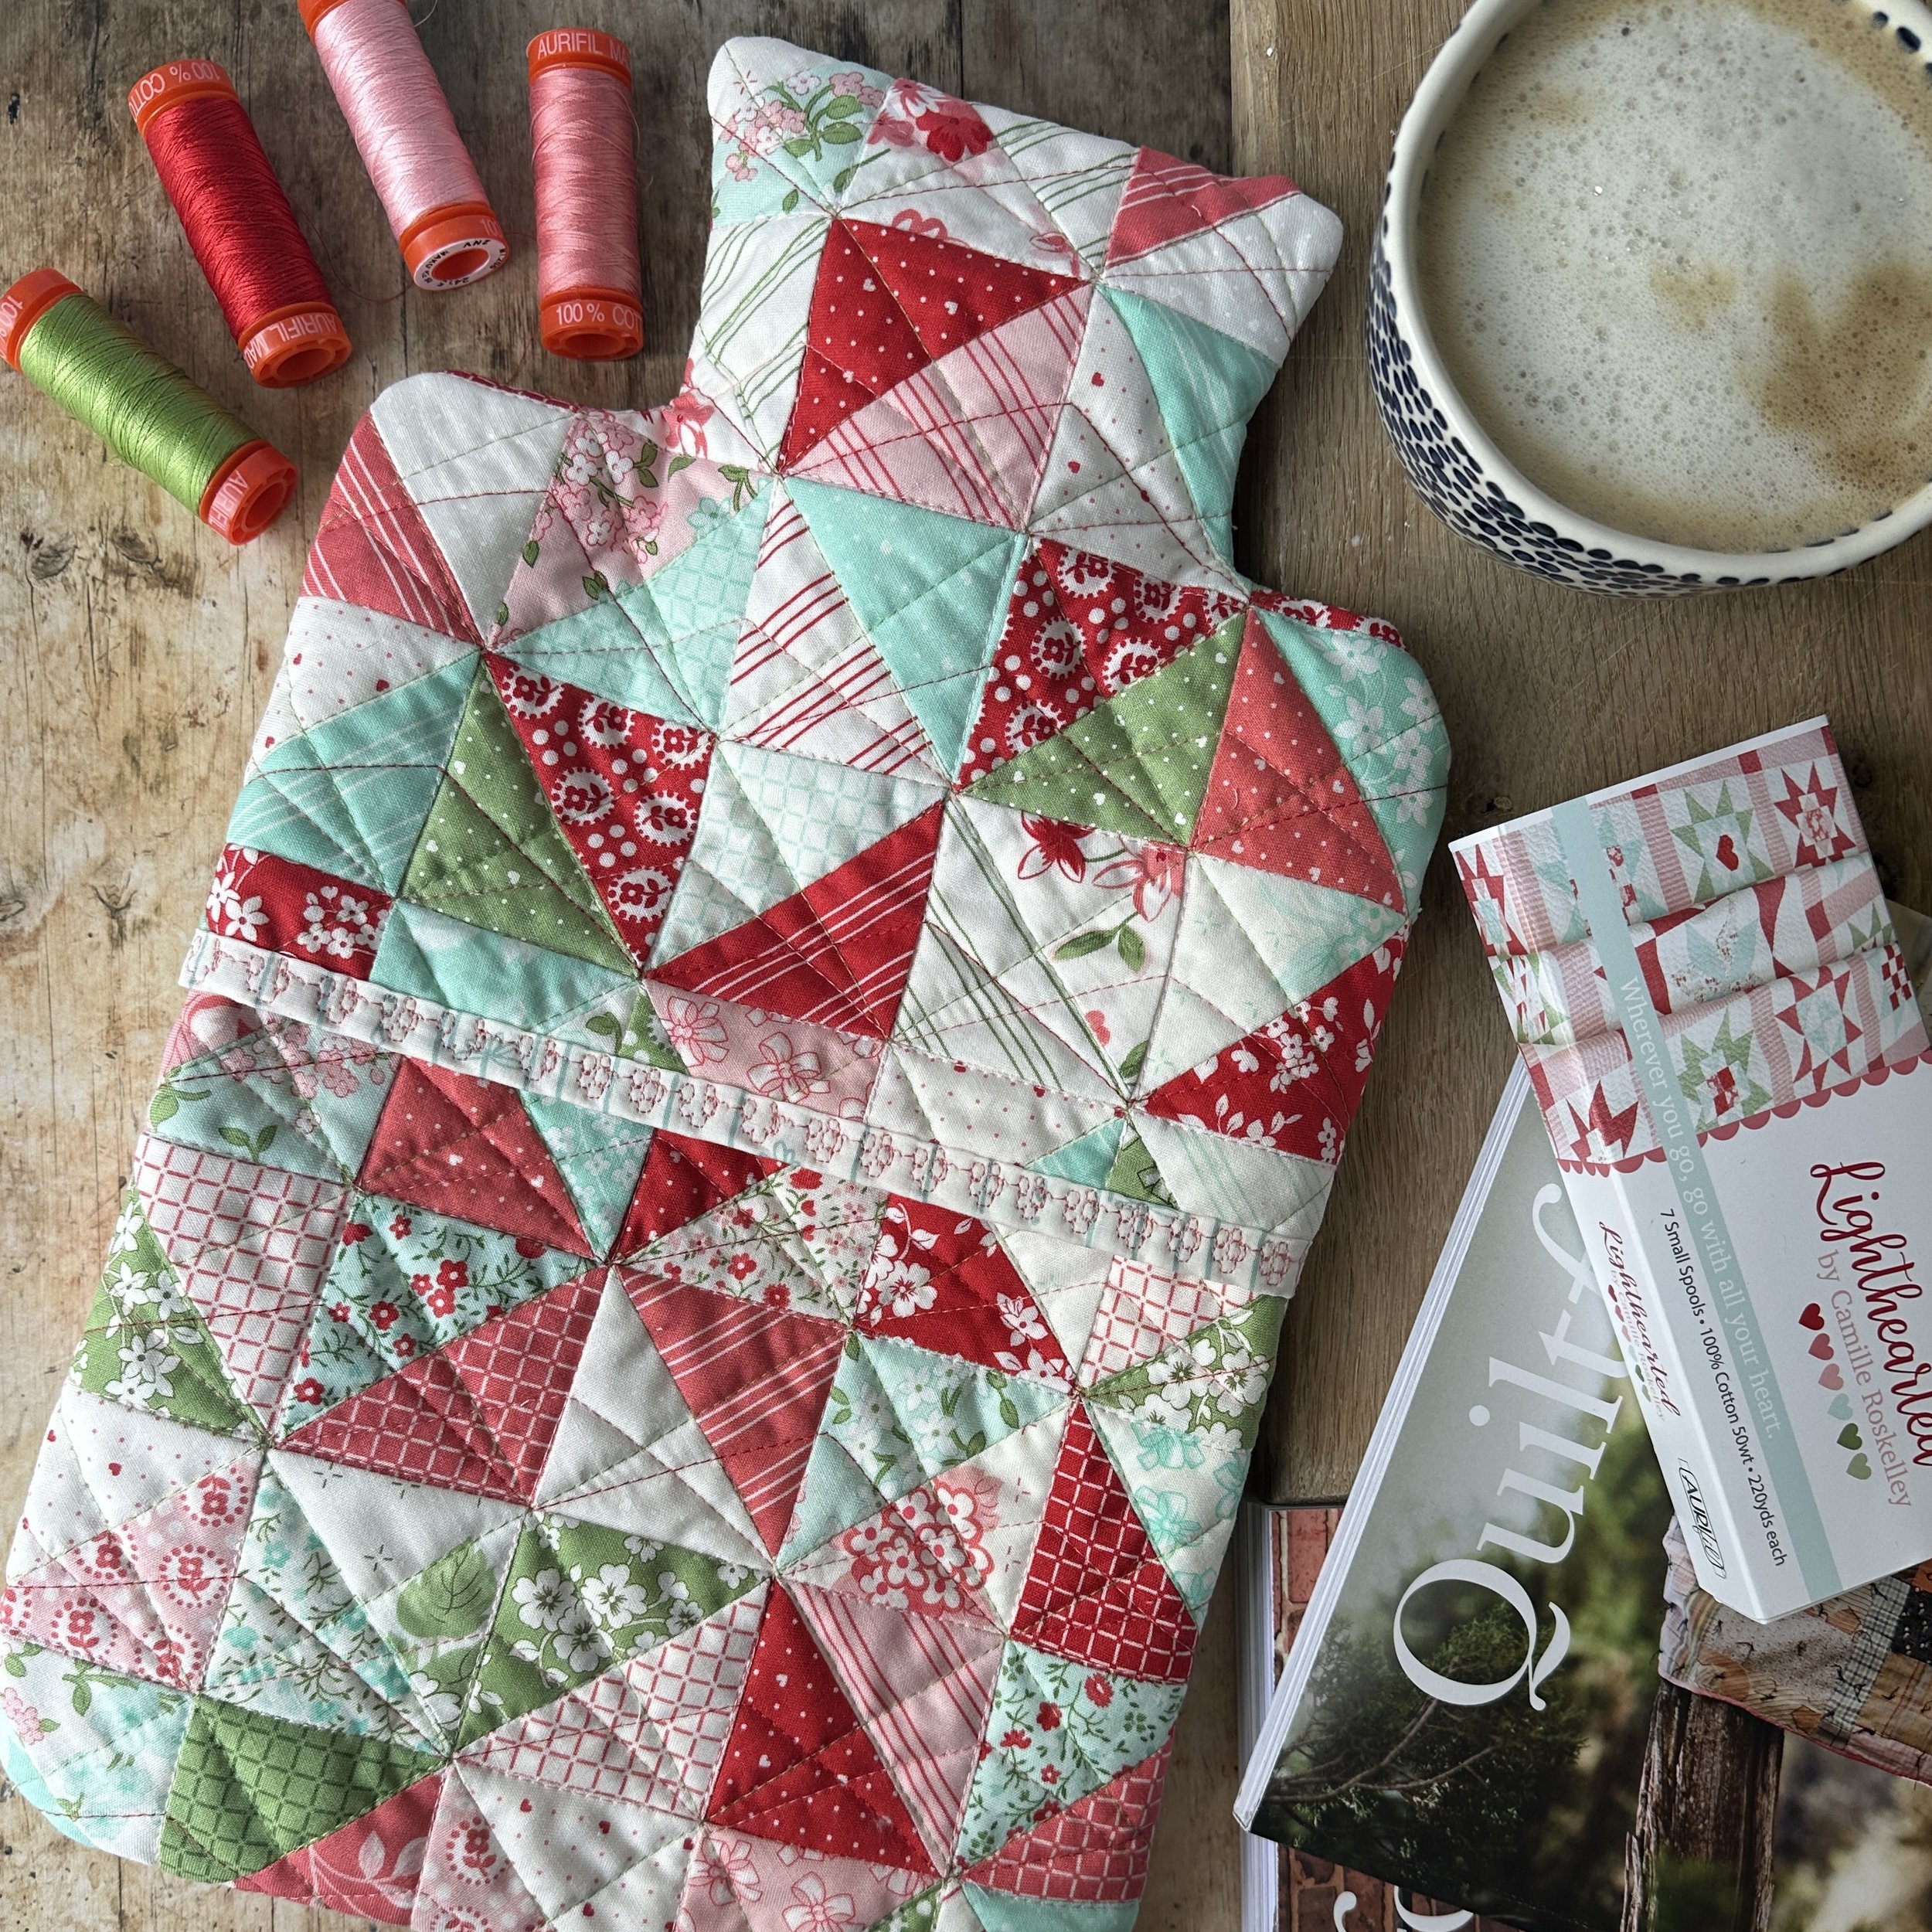
Stitch Pink Quilted Hot-Water bottle cover!

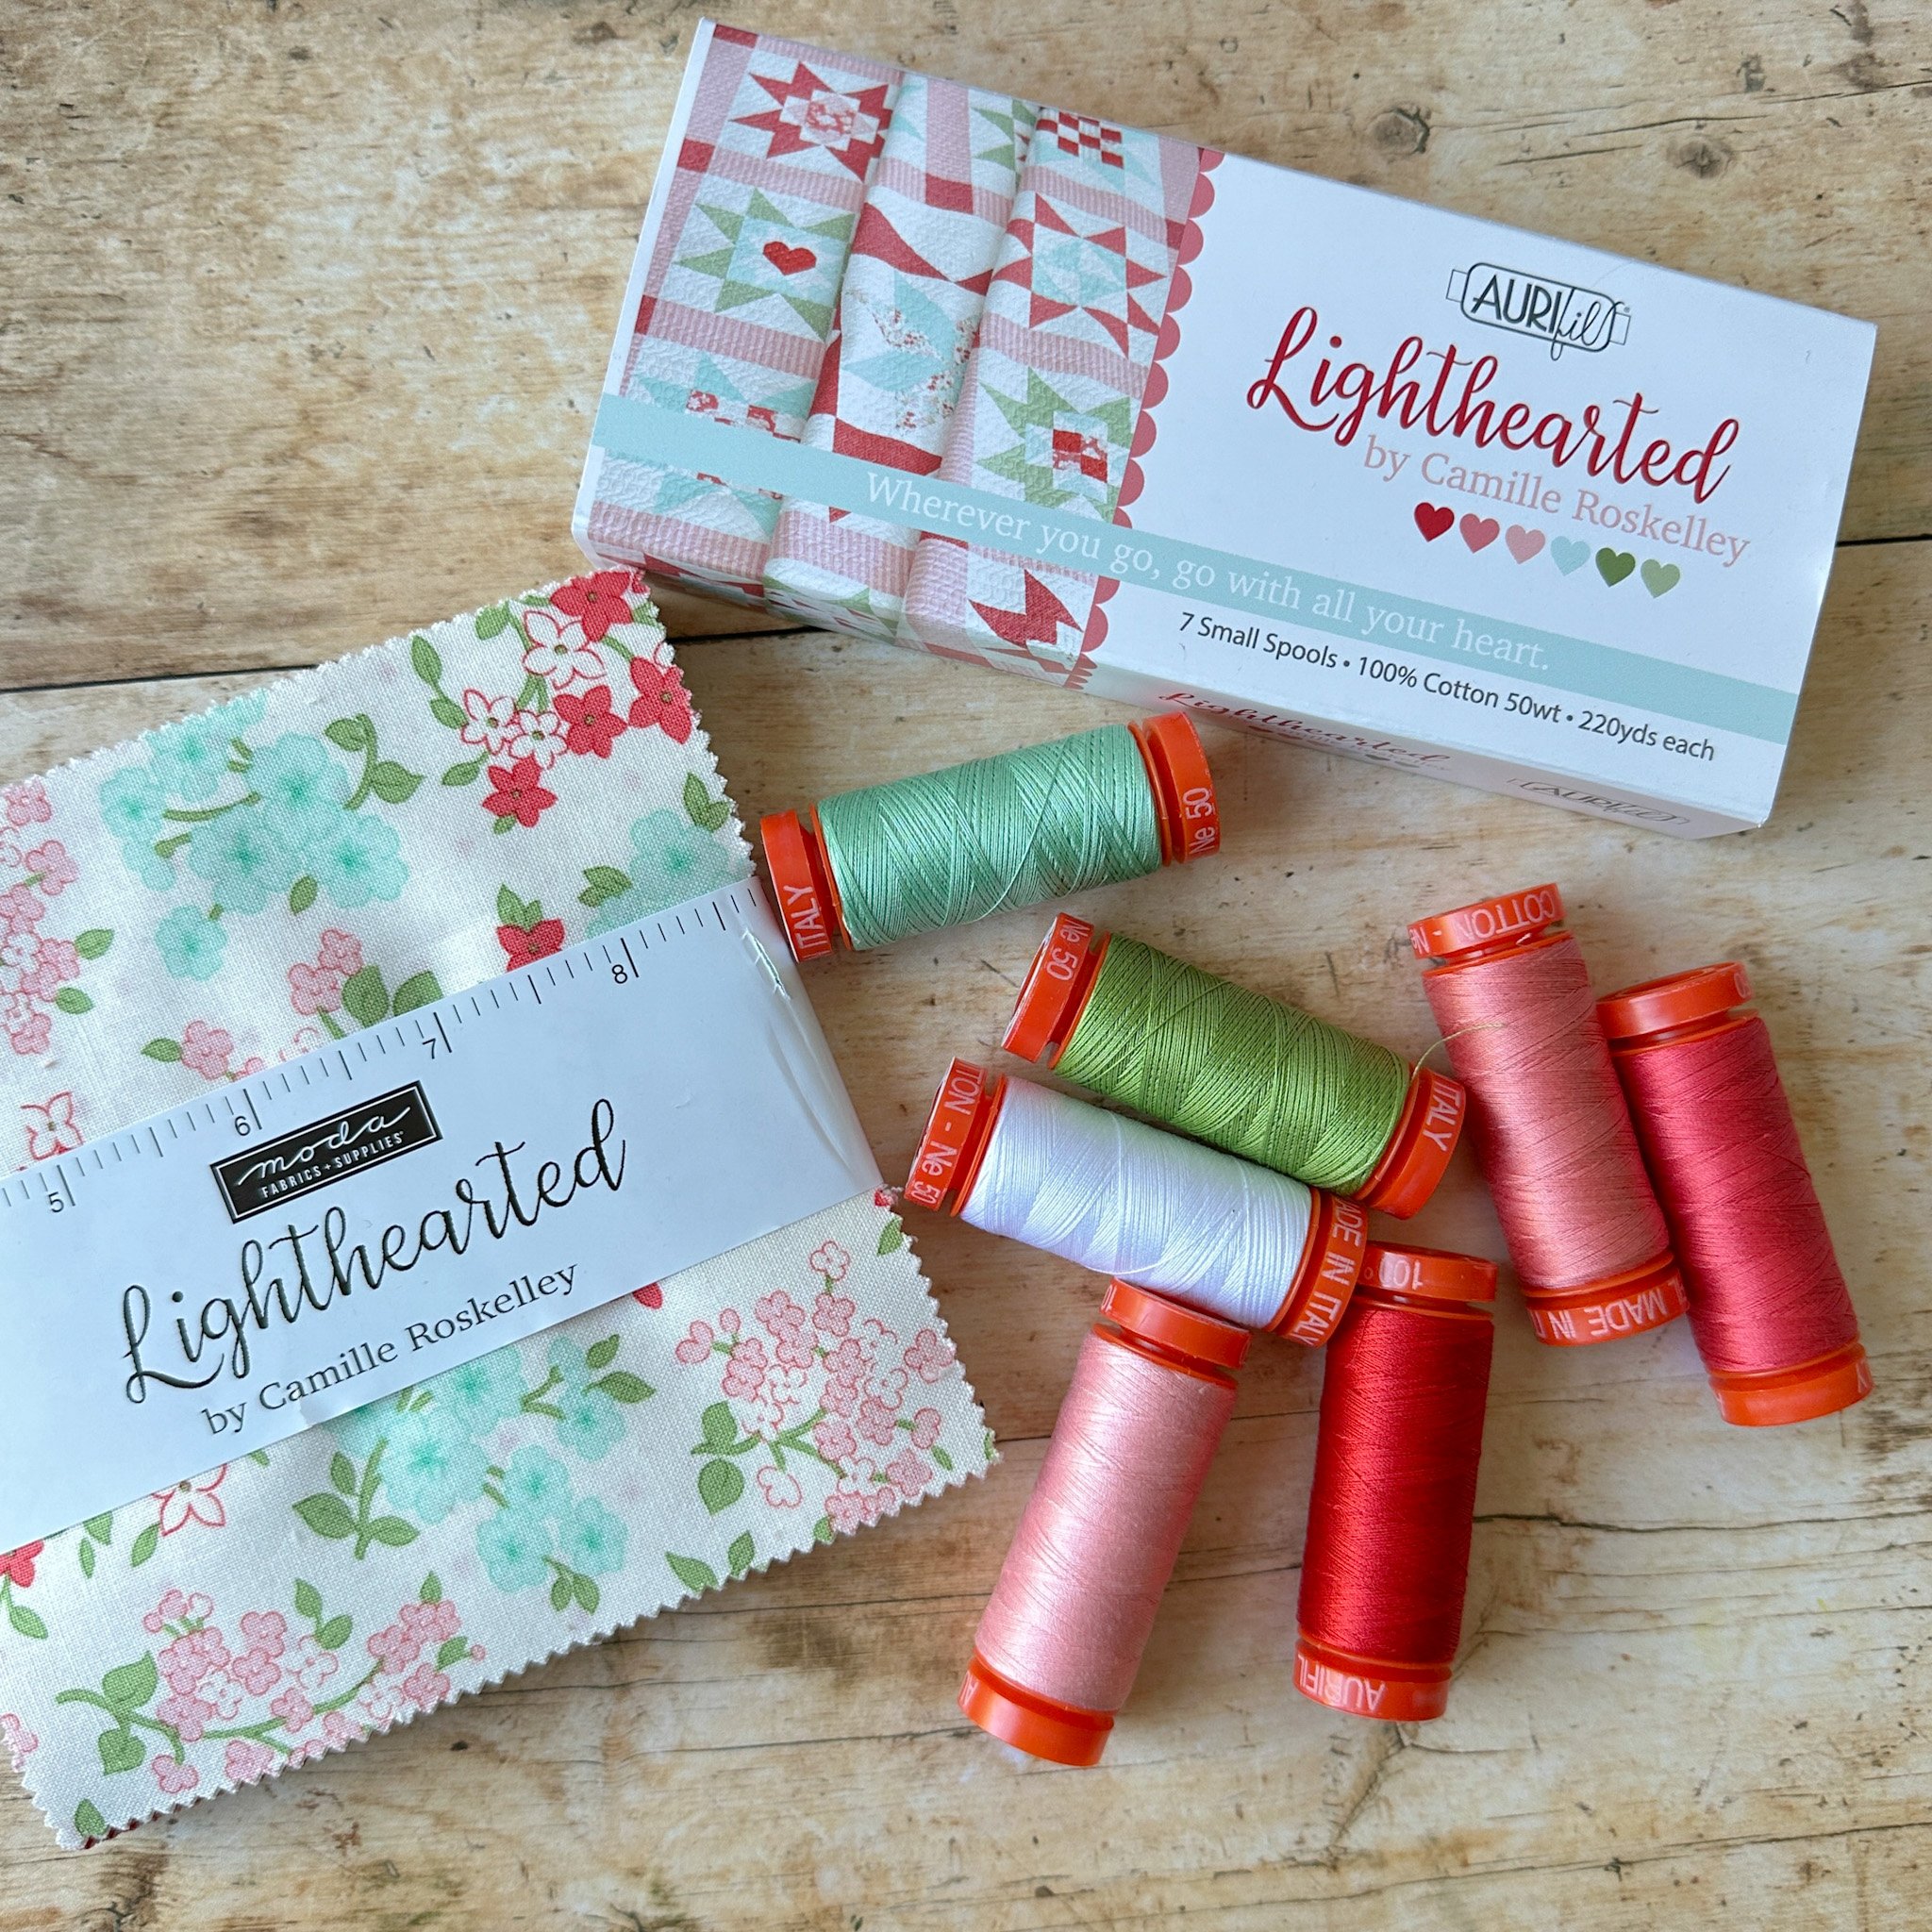
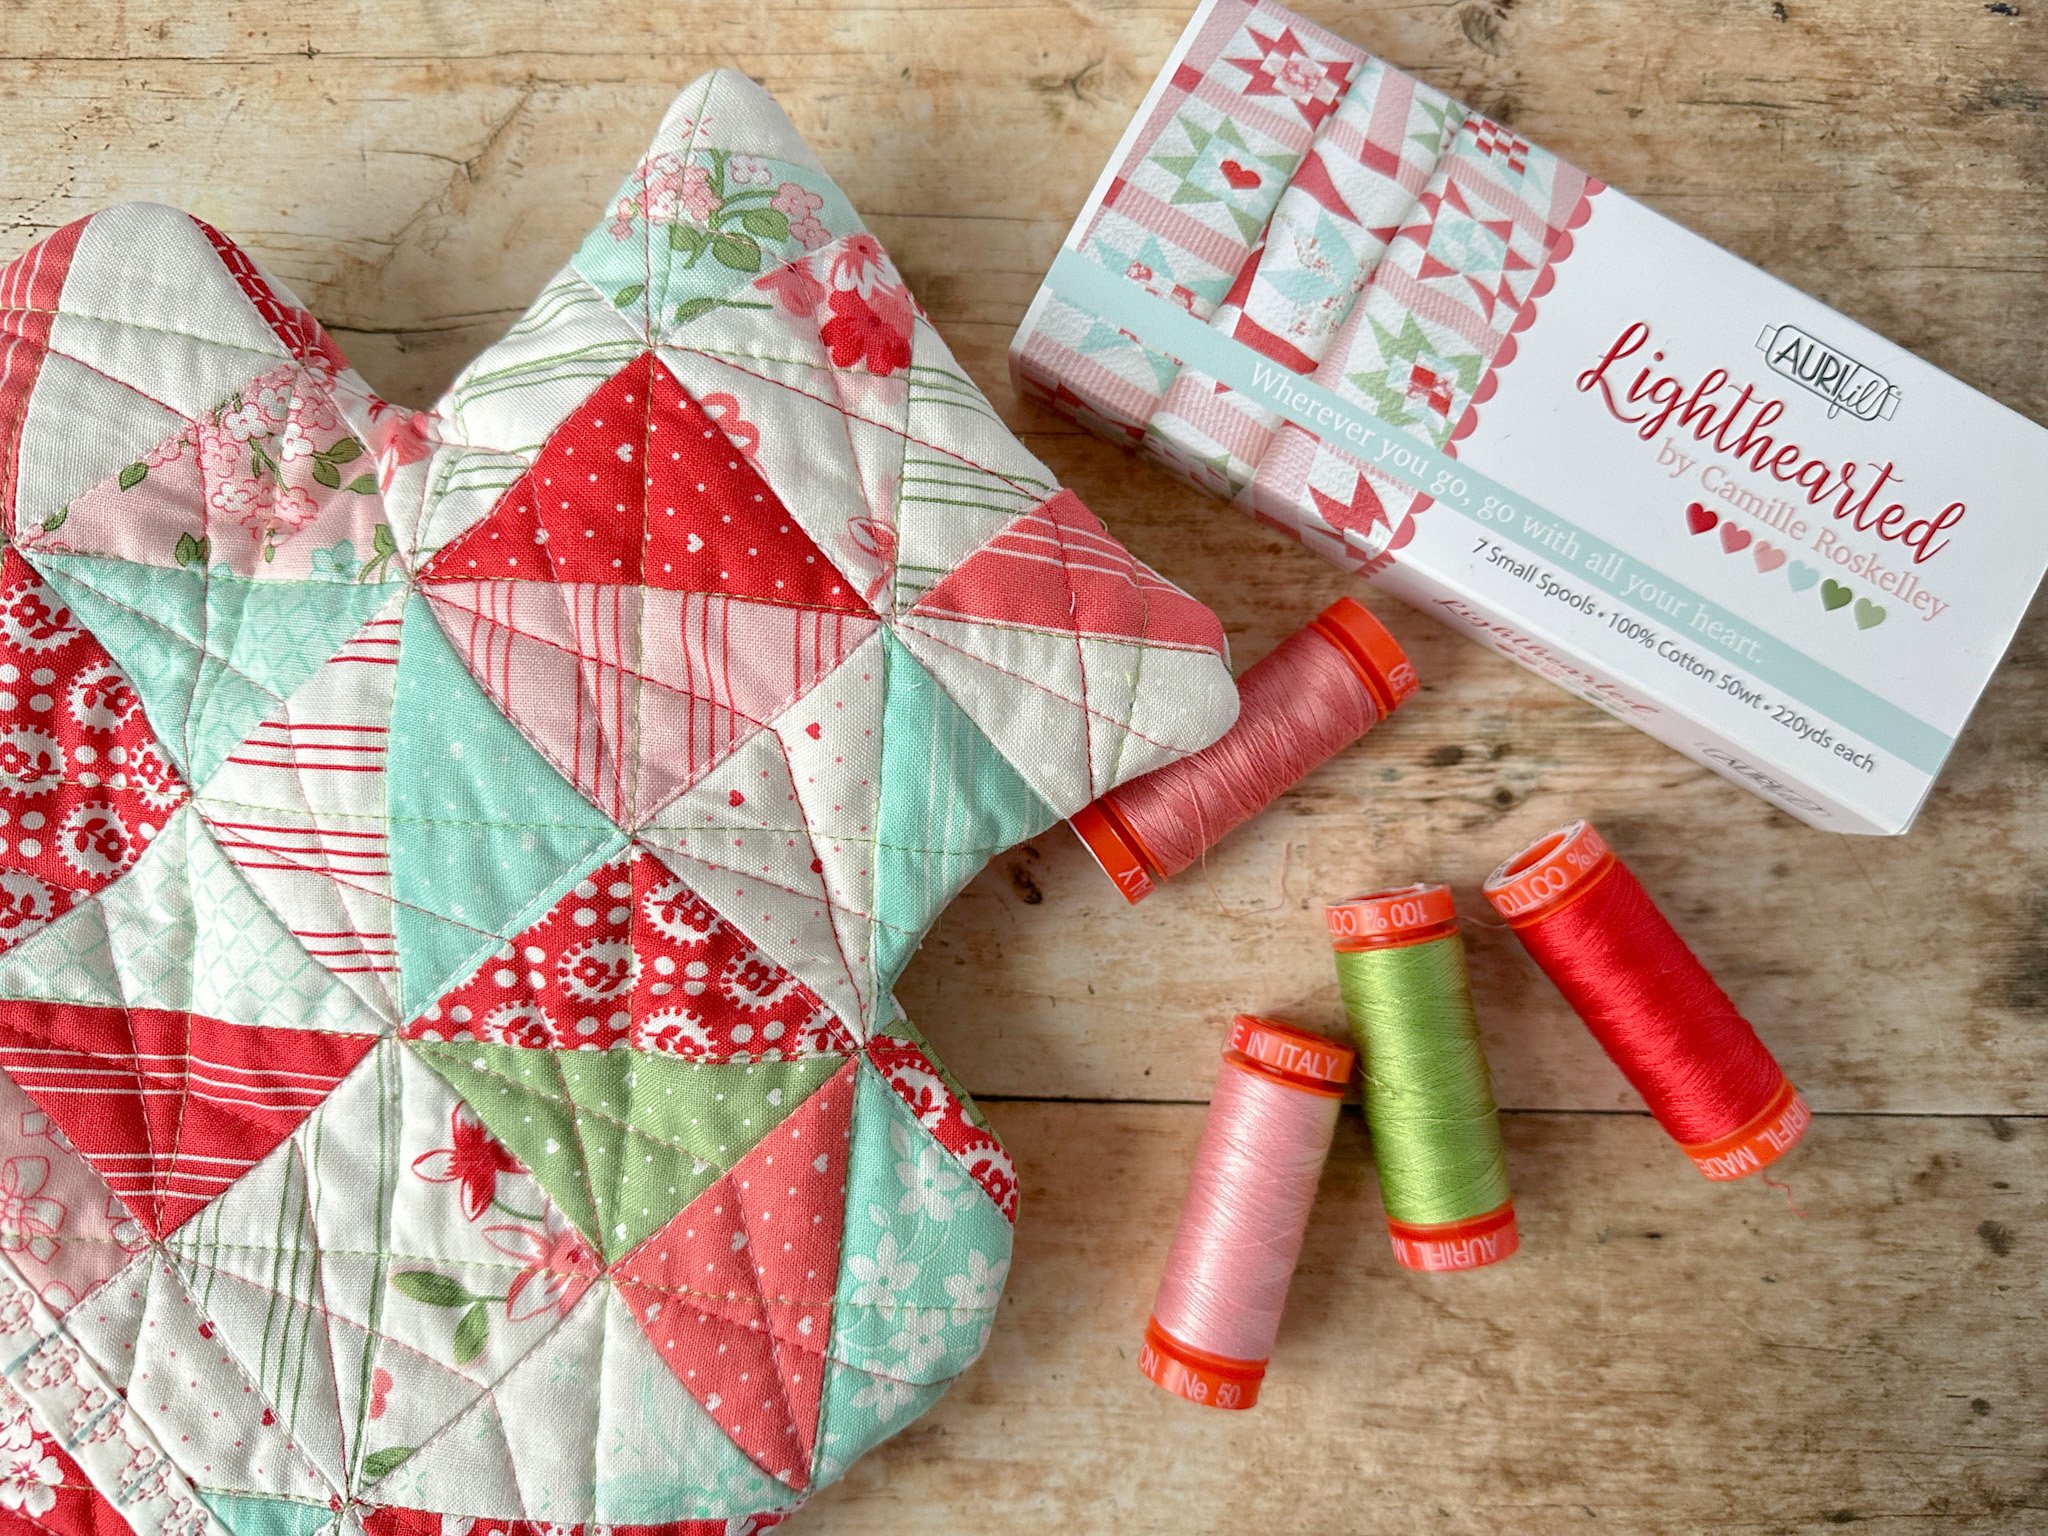
In the spirit of compassion and support for breast cancer awareness, I took up the Stitch Pink challenge and created a quilted hot water bottle cover using the full Lighthearted charm pack and Aurifil threads. This project was born from a heartfelt desire to create something not only beautiful but also comforting for those going through the trials of breast cancer. A hot water bottle is not just a practical item; it's a warm embrace that can bring solace on days when you need it. I hope this can provide a sense of comfort, warmth, and support to those in their journey to healing.
What you will need
Fabric Requirements:
43 squares 2 ¾″ x 2 ¾″ - this will make 86 HSTs (or one charm pack)
Fabric for binding - (2) 11″ x 2 ½″
You will also need:
Cheap/ scrappy fabric for backing for quilting (will be hidden on finished project) (1) 12 ½″ x 20 ½″ and (1) 12 ½″ x 18 ½″
Wadding/Batting scraps (1) 11 ½″ x 19 ½″ and (1) 11 ½″ x 17 ½″
I used a 1.8L hot water bottle for this tutorial (which I bought from Amazon here!)
Fabric Tips
Lay out the colours of the charm pack and mix and match them. When I then came to make my half square triangles (HSTs) I took a square from each pile, so each HST would be made up of two different colours.

Step one, Making the HSTs.
Pair 2 squares RST.
On the wrong side of one of the squares, mark a diagonal line.
Pin and sew a ¼″ seam on each side of the marked lines.
Carefully cut the square in half to produce 2 HSTs.
Separate your pieces, press open and trim to 2 ½″.
Repeat these steps to make 40 HSTs for the front of the hot water bottle and 45 HSTs for the back.

Figure 1
Step two, Making the Quilt Top.
For the front of the hot water bottle you will need to lay out 5 x 8 HSTs and for the back you will need to lay out 5 x 9 HSTs and follow the instructions below;
Lay your HSTs out, taking time to arrange them in an order you are happy with. (Fig 2, step 1)
Sew the HSTs together, one row at a time. (Fig 2, step 2)
Next sew each row together to complete the quilt top. (Fig 2, step 3)

Figure 2
Step 3, Quilting the Quilt Top.
The backing for the quilting does not need to be anything fancy! Keep costs down and use a cheap sheet or equivalent. This will be hidden inside the cover!
Lay the backing right side down and secure.
Place the batting/wadding on the wrong side of the backing. This should be an inch or so bigger than the quilt top, but not bigger than the backing.
Place the quilt top right-side facing up on top of the batting.
Smooth out the quilt top and baste as desired either using pins, thread or basting spray. (Fig 3)
How to quilt parallel lines:
Draw the Hot-Water Bottle template outline, so you can see where you will need the quilting to start and finish. (Fig 4)
Draw or mark a line through the middle of the quilt top. (Fig 4)
Using your walking foot on your sewing machine, sew directly across this line, making sure to go over the edge of the template outline.
Go back to the same start point as the first sewn line and line up your walking foot so the right hand side of the foot is flush with the sewn line.
Sew another line across the top.
Repeat these steps to the end of the quilt top.
Turn the top around and repeat these steps so the whole quilt top is quilted.
Repeat these steps so both the front and back of the Hot Water Bottle Cover are quilted.

Figure 3

Figure 4

Quilting Tips!
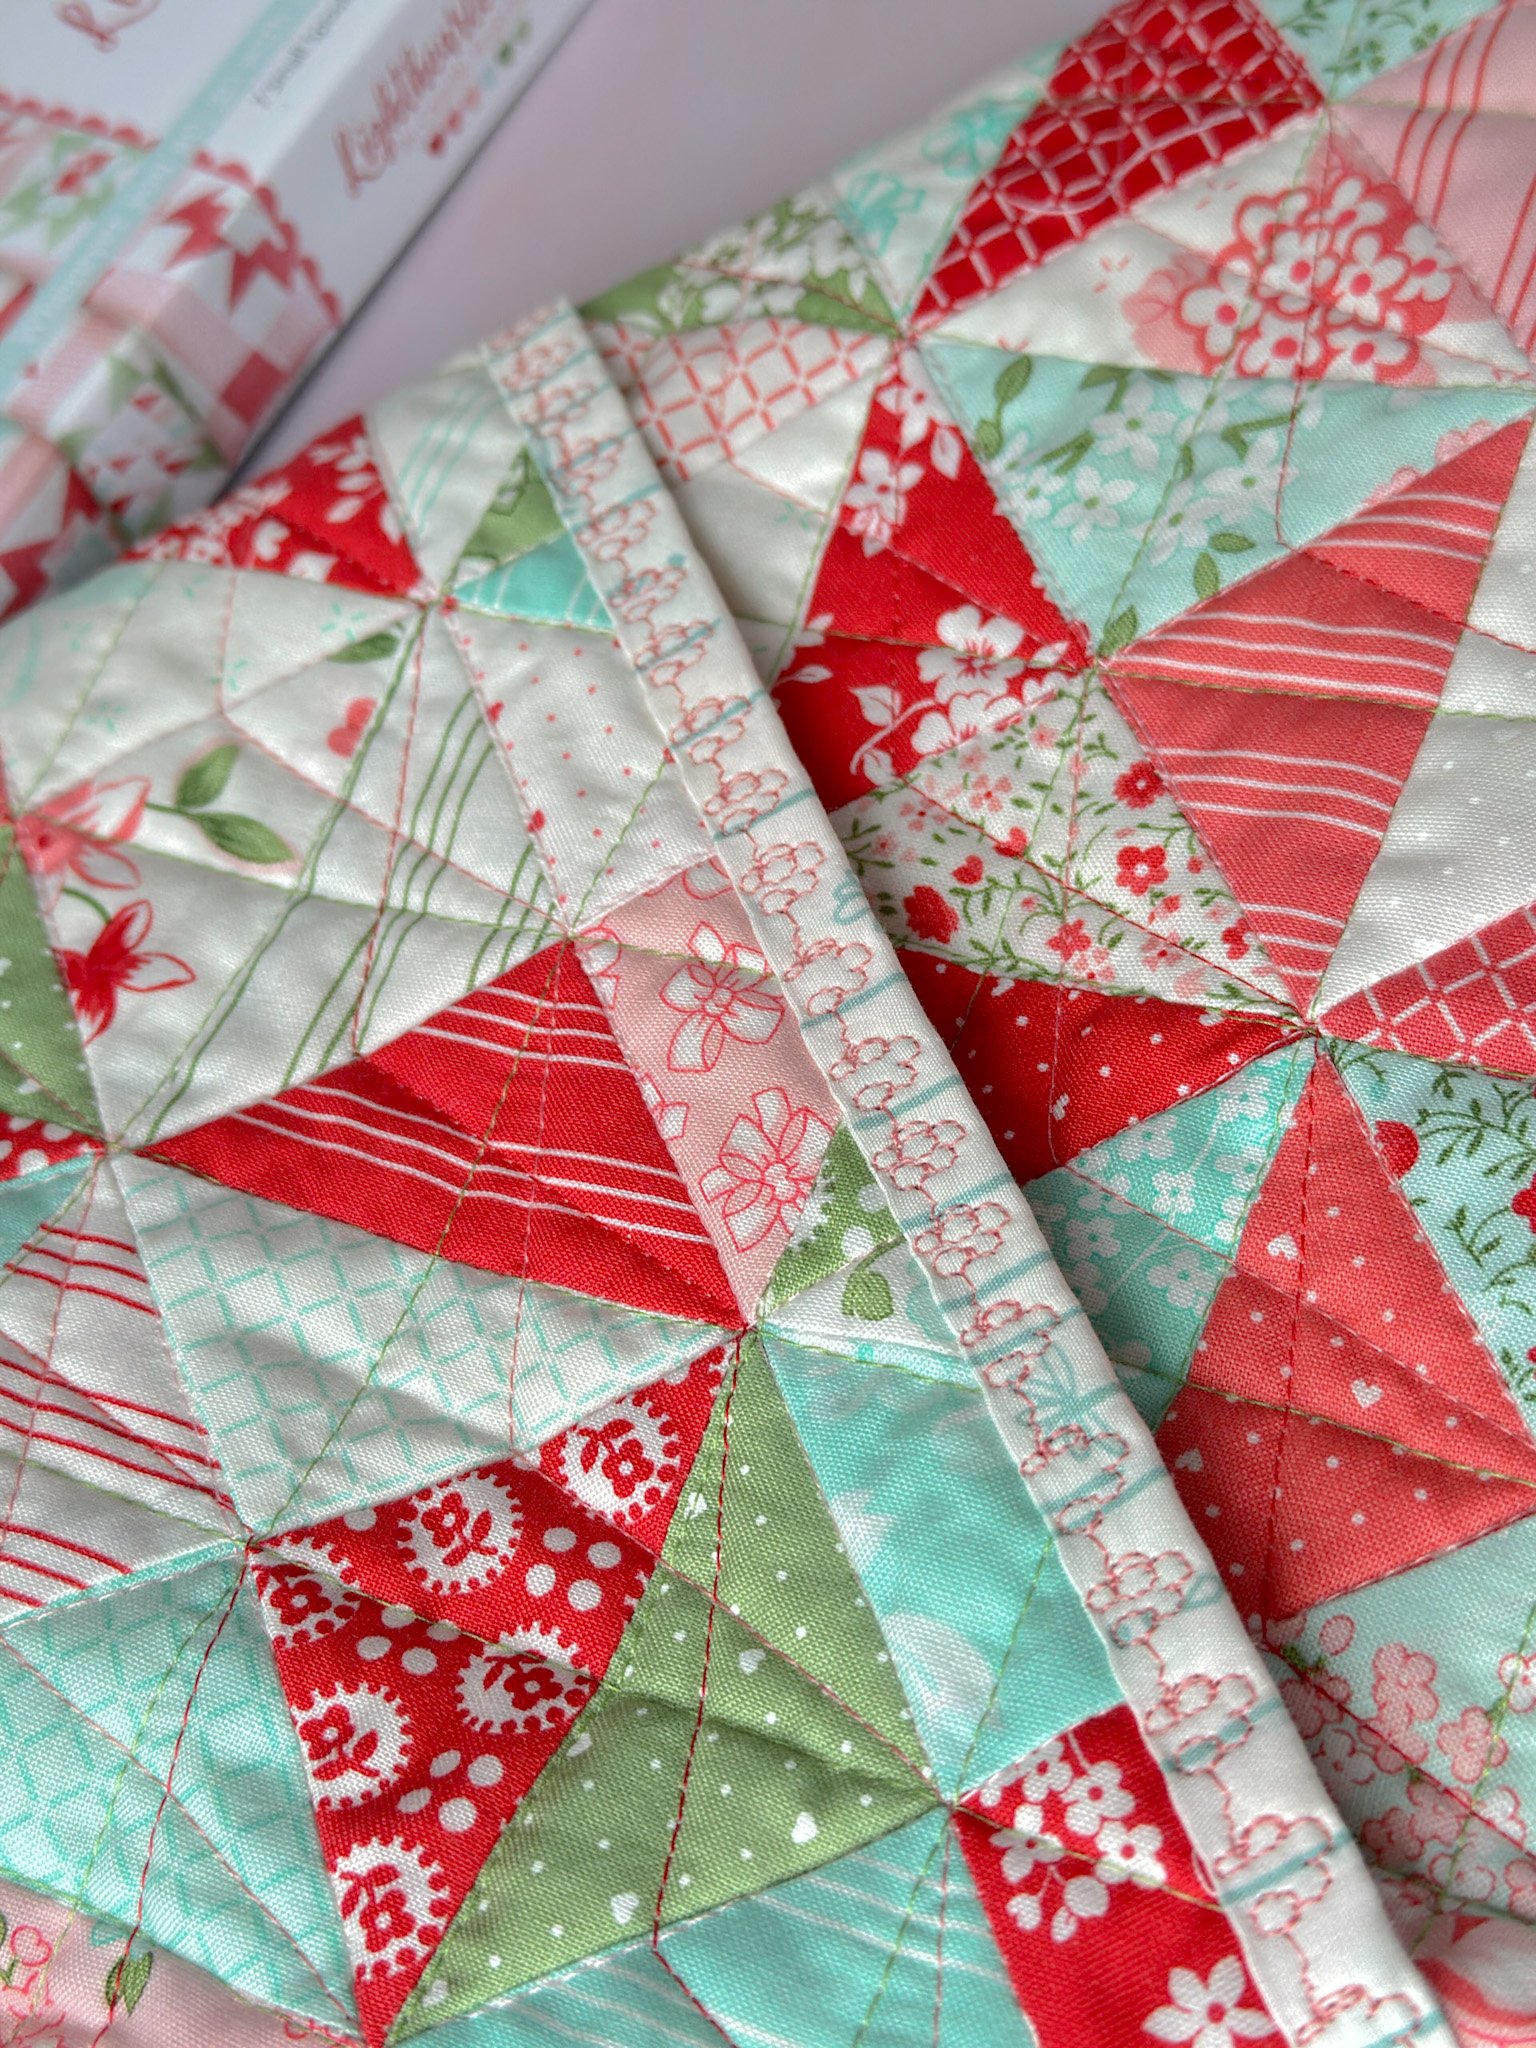
For the cover version of my Hot Water Bottle Cover, I quilted an ‘Intersecting Boomerangs’ quilting design from the Walk 2.0 book by Jacquie Gering, and I used a coloured Aurifil thread from the Lighthearted Thread Collection, which complimented the lighthearted fabrics perfectly.
I recommend using Aurifil Thread and having fun with your quilting designs. This is the perfect small project to have fun with! The ‘Walk’ books by Jacquie Gering are such a great investment if you want to learn how to quilt your own projects with a walking foot on your domestic sewing machine.


Step 4, Making the back of the Hot Water Bottle
Once you have quilted the backing for the Hot Water Bottle Cover, follow the next steps:
Cut the quilted back piece in 2, so you have (1) 9″ x 8 ½″ and (1) 9″ x 9 ½″
Take one of the binding strips and fold in half lengthwise, wrong side together, and press.
Place the binding on the front of one of the shorter edges of the back, raw edges against the raw edges.
Sew ¼″ from the raw edge.
Fold the binding over and machine or hand stitch to finish.
Repeat these steps so both backing halves have a binded edge.
Step 5, finishing the quilted hot water bottle cover
Over lap the back pieces by 3″, right sides facing up and binded edges facing in, and pin to secure in place.
Place the quilted top right-sides down on top of the back, so the back and front are RST, pin in place
place the hot water bottle template on top and draw or mark around the edge.
Sew directly over the drawn template marks.
Trim the corners to remove bulk if needed and turn out your Hot Water Bottle Cover.
To read more about our Stitch Pink Event and donate to the National Breast Cancer Foundation, please click the link below;
https://auribuzz.com/2023/09/27/stitch-pink-lighthearted/